
Handmade Trivets

Photography by Rona Chang
Rona Chang is the founder, principle textile & pattern designer, maker, and chief operations manager for Otto Finn. Below, she shares instructions for making handmade trivets and reminds us all to buy locally and live sustainably.
Otto Finn is a culturally inspired, consciously made Pittsburgh-based textile company that uses sustainable textiles and practices to make our clothes, accessories, and home goods. I started this business because I refused to buy clothes at big-box stores. (Mission accomplished on that front in our house.) In the process of meeting that goal, I have become more aware of how investing in and collaborating with other small businesses improves and boosts our local economy and cuts down on our environmental impact. I see Otto Finn’s work as relevant in both environmental and social ways.
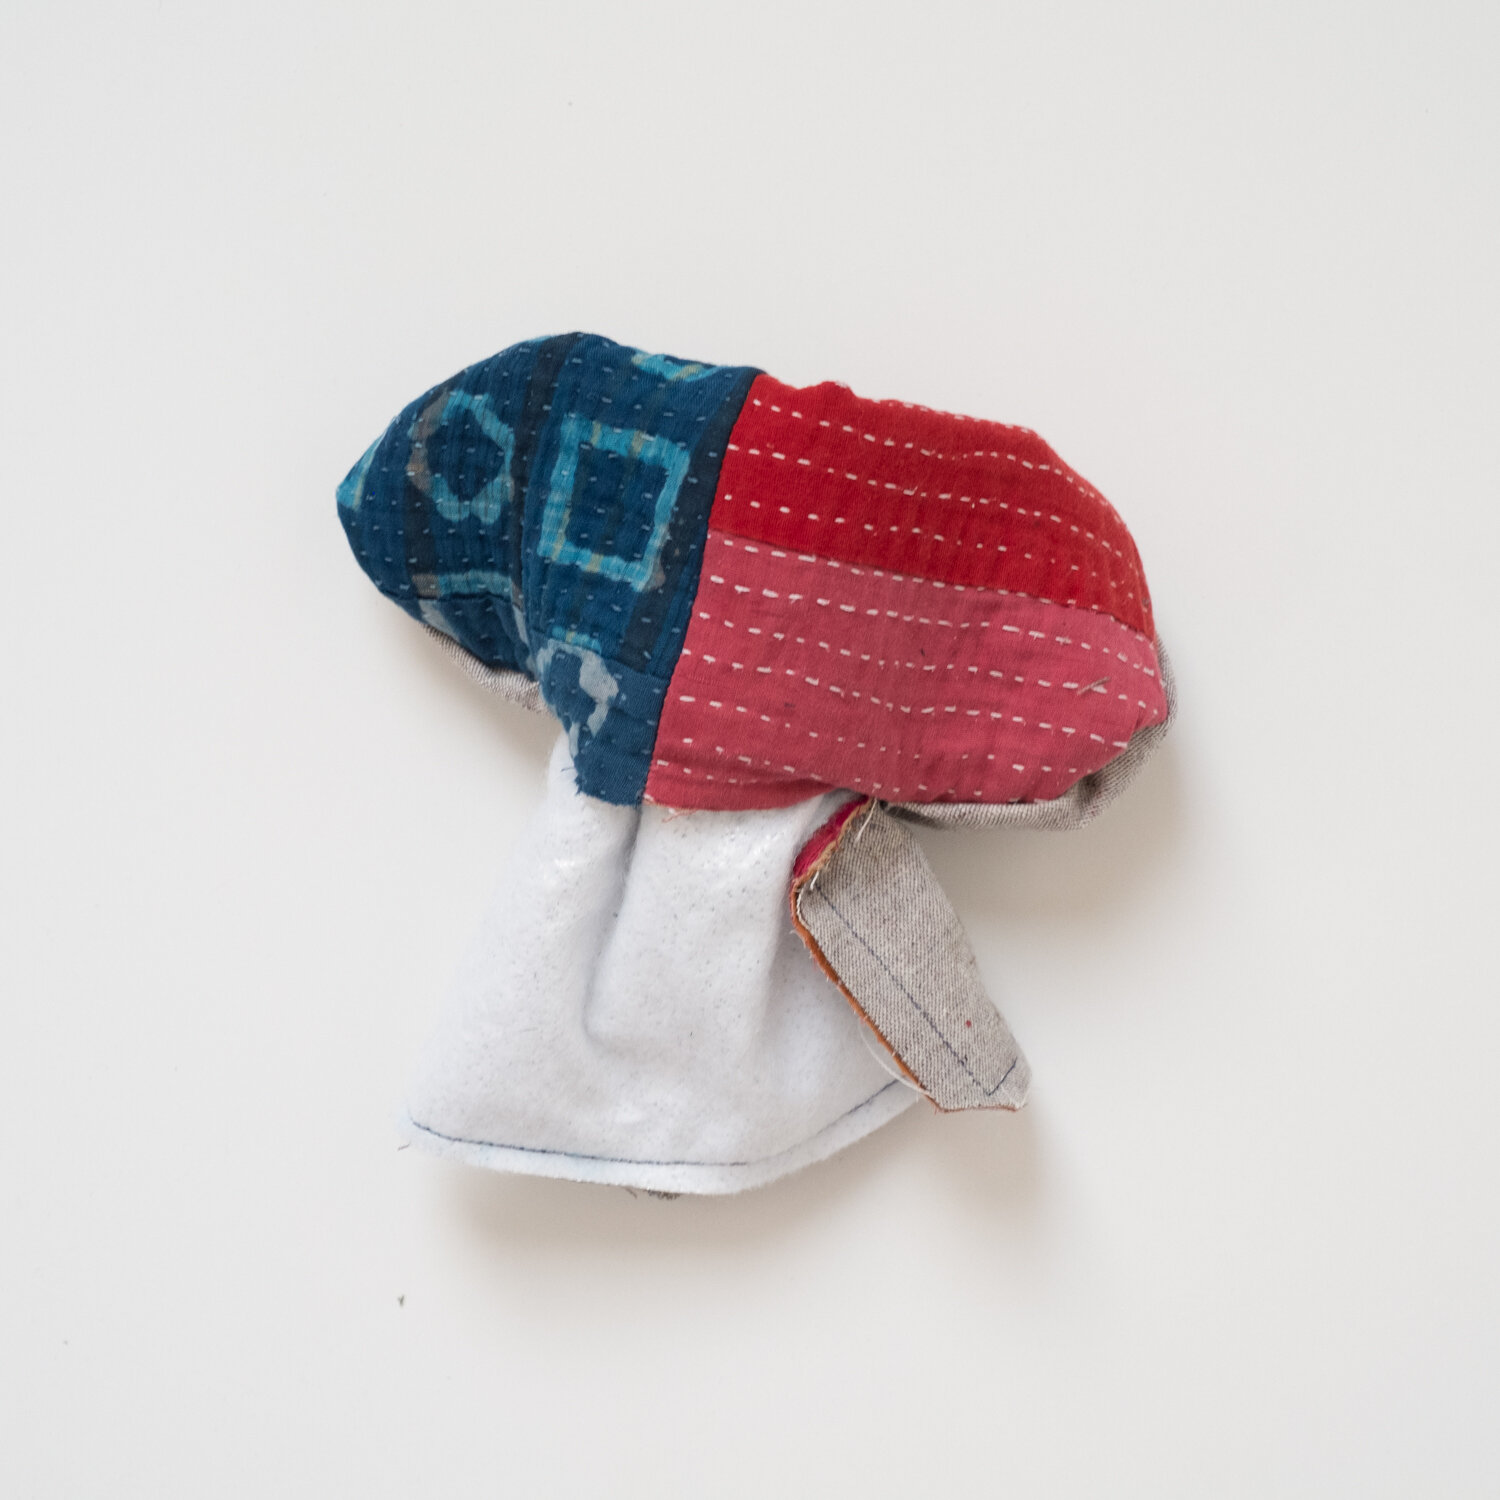
If you have an old tattered quilt or quilt top at home, or if you find one at a thrift store, or on eBay or Facebook Marketplace, you can easily make your own trivet and a set of matching coasters. It’s a satisfying and useful endeavor for your own use at home, or to give as a gift.
Supplies
Fabric for front and backing (quilted scraps and medium weight fabric)
Insul-Bright (available online or in craft stores)
or Cotton or wool batting
3/4" wide x 7" long leather strip (available at tandyleather.com or can be omitted)
Embroidery thread
Fabric scissors
Craft knife
Straight pins
Sewing Machine
Iron
Awl
Instructions

Use 3/8" seam allowance throughout.
Cut two 5 1/4" squares, one 5 1/4" x 9 3/4" rectangle and one 9 3/4" square of backing fabric. Cut out a 9 3/4" square of batting. Cut out a 7" strip leather strip.

Sew 5 1/4" squares together. Iron open seams.
Sew this new rectangle to the rectangular piece of fabric on the long edge. This patched square should measure 9 3/4". Iron open seams.
Lay patched square right sides together on 9 3/4" square backing fabric, top with batting. Pin all three layers together. Sew around all four sides, leaving a 3" gap in the middle of the top.
Clip off the corners, flip right side out through the gap. Poke out corners so they are pointy. Stitch gap closed.

For the optional leather handle, punch a hole with the awl 3/8" from the center of each end of the strip. Use embroidery thread to stitch ends of strip onto trivet 3-4 times to make sure it is secure.